Production Site Info
Guide Instructions
Navigate to Asset DAM
- Click Assets > Files > Under Armour > Newsroom Stories > Story Year based on Year Number > Story Month based on Month Number


Upload Assets to DAM
- Once correct month parent folder is selected click create in upper right corner > Create Folder > Name folder with story title with no special characters > Click Create
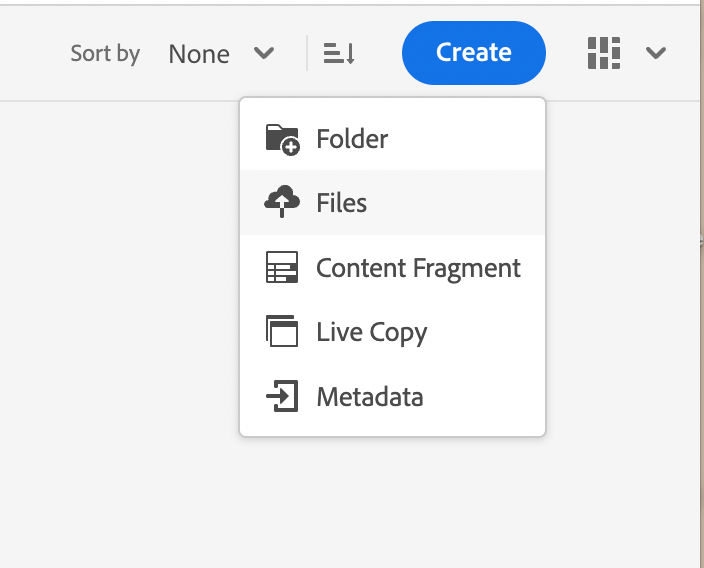
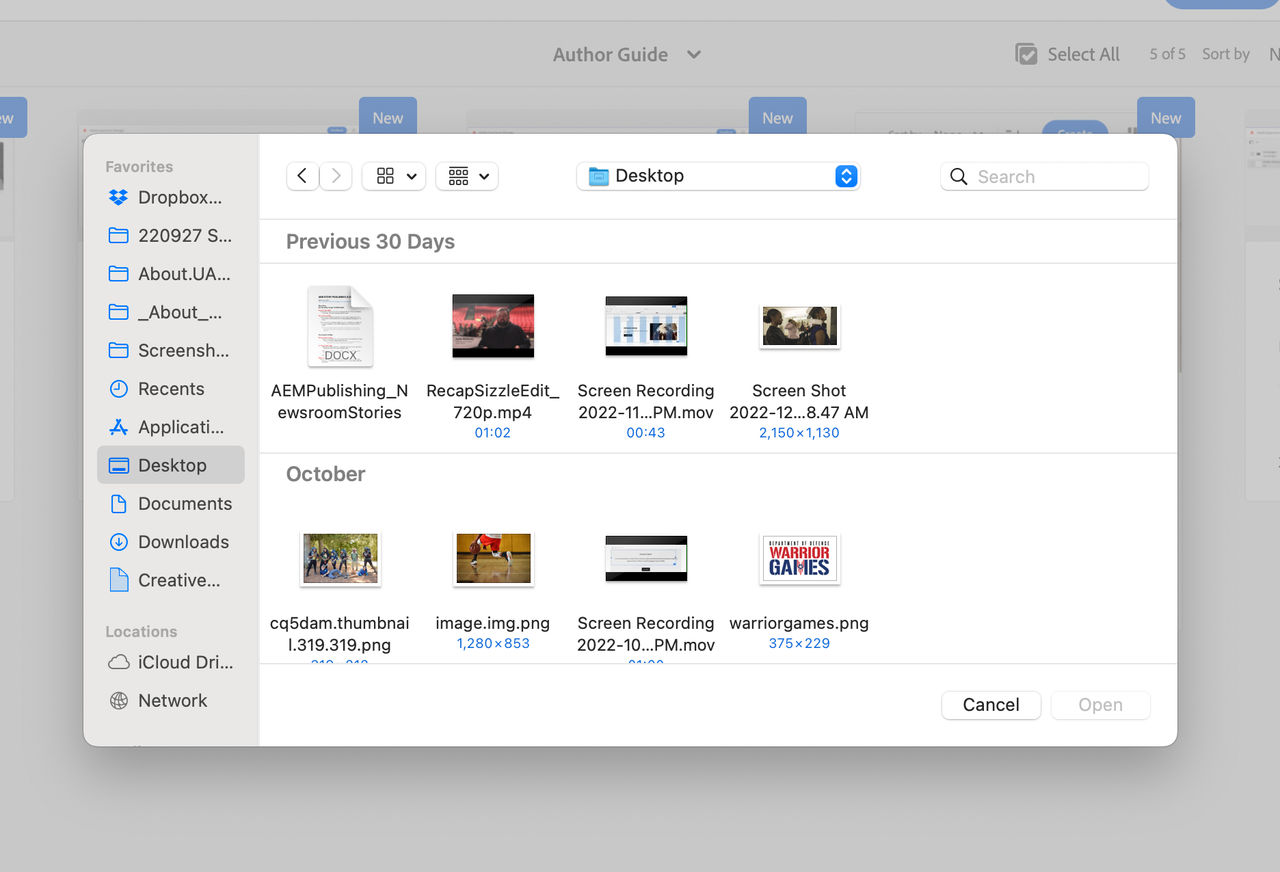
- Once in new folder click Create in upper right corner click Files, select images that need to be uploaded. You can also drag and drop images into folder to begin upload.
- Alt text and download titles can be added to images here or can be added within story page based on preference. You will just need to select Inherit DAM info
Navigate to Parent Folders
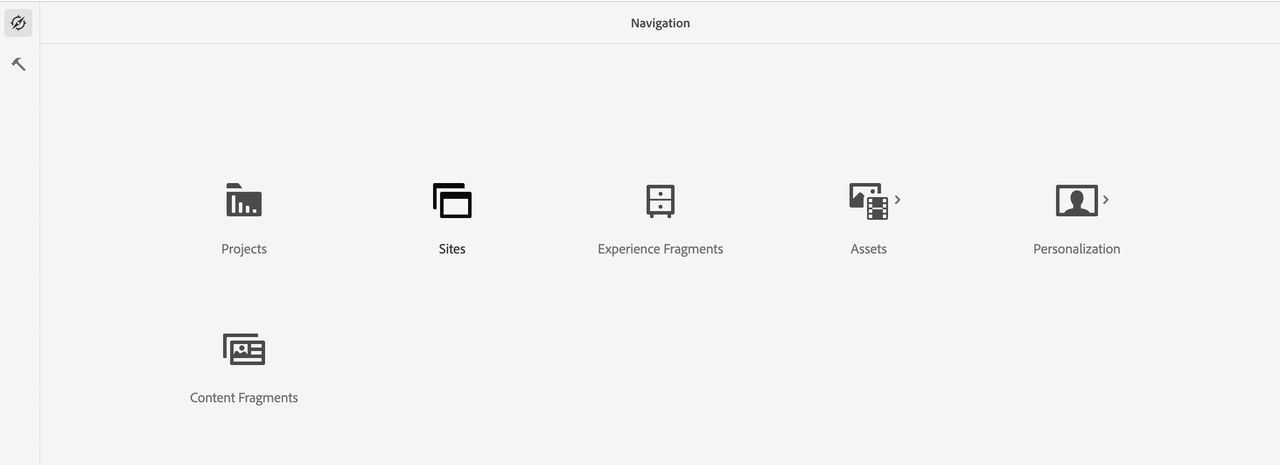
- Sites > Under Armour > About UA > Language Masters>Home en > Stories> Story Year based on Year Number > Story Month based on Month Number
- If you do not see month or year folder needed, start new folder by clicking on parent folder, click create in top right corner, select folder

Create Article Detail Page
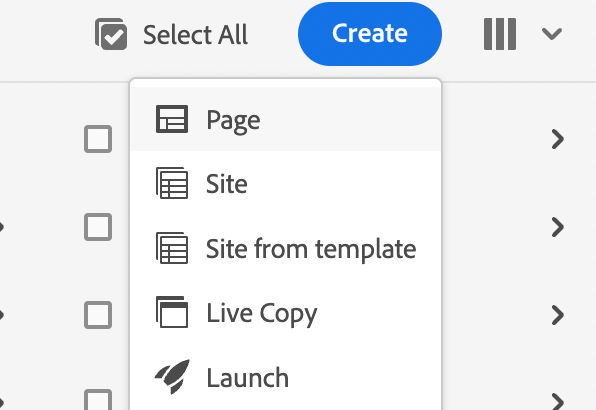
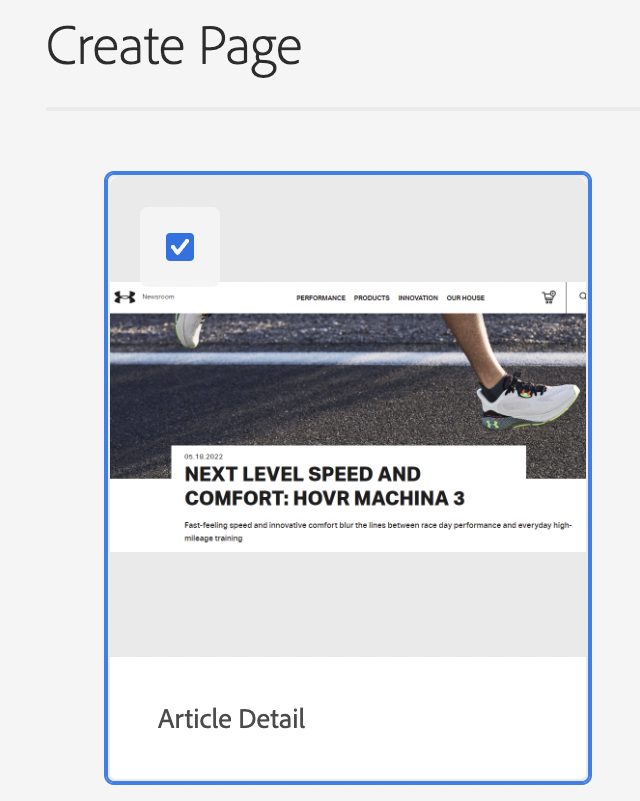
- Once correct month parent folder is selected click create in upper right corner > Create Page > Select Article Detail Page > Create
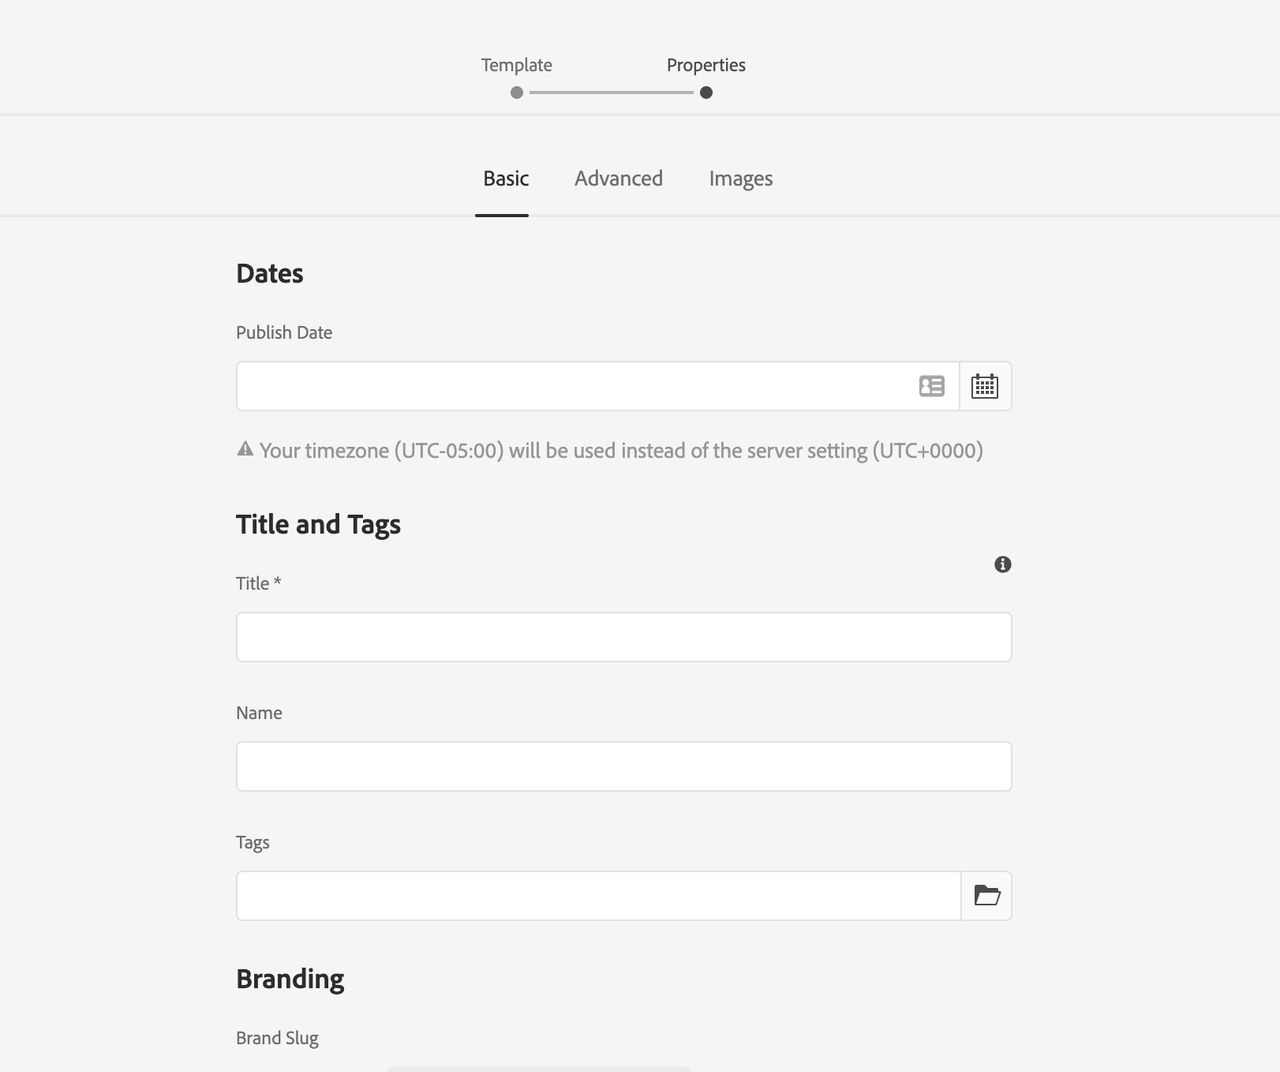
- This will take you to Edit Properties, edit details for Basic and Image section. Add publish date, Story Title(sentence case it will automate to all caps where needed), Featured Image and Thumbnail Image.
- Click Create
Add Content
- Edit Title component, edit title field if needed leave settings as H1 for main title. Click additional fields add date eyebrow and subtitle. Click on Image to Add main story image
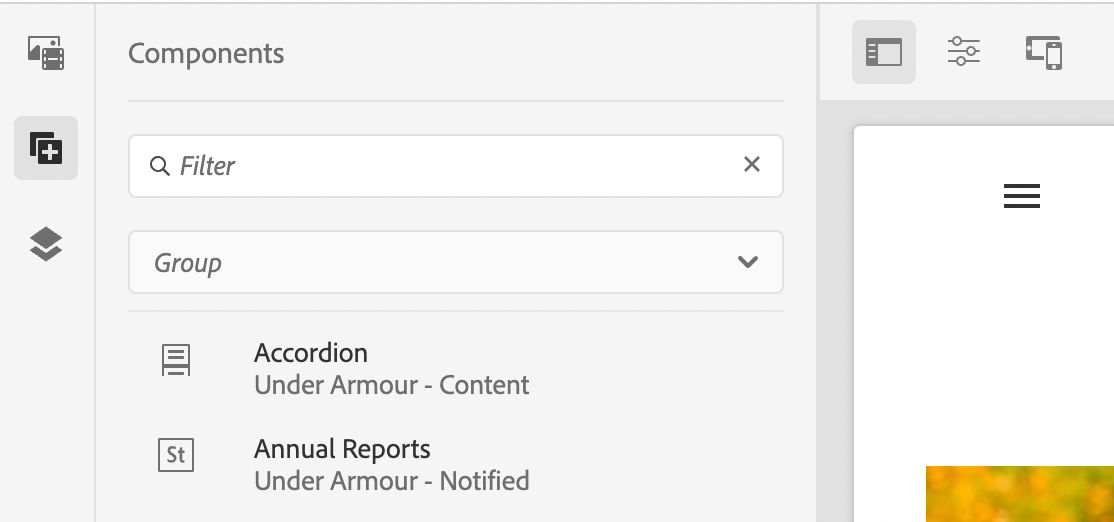
- Toggle side panel in top left corner to add components for content and imagery click on the second icon in the side navigation for components, drag components into body and edit as needed. You can also click Drag Components Here within containers and click “+” symbol to add components.
- For imagery within toggle panel, you can find access to Assets in the top icon on the side navigation. To navigate to see only assets loaded in prep steps click folder icon next to enter path and navigate to Under Armour > Newsroom Stories > Story Year based on Year Number > Story Month based on Month Number > Story Title folder > Click Select.
- Add an Image gallery for any remaining imagery at the end.
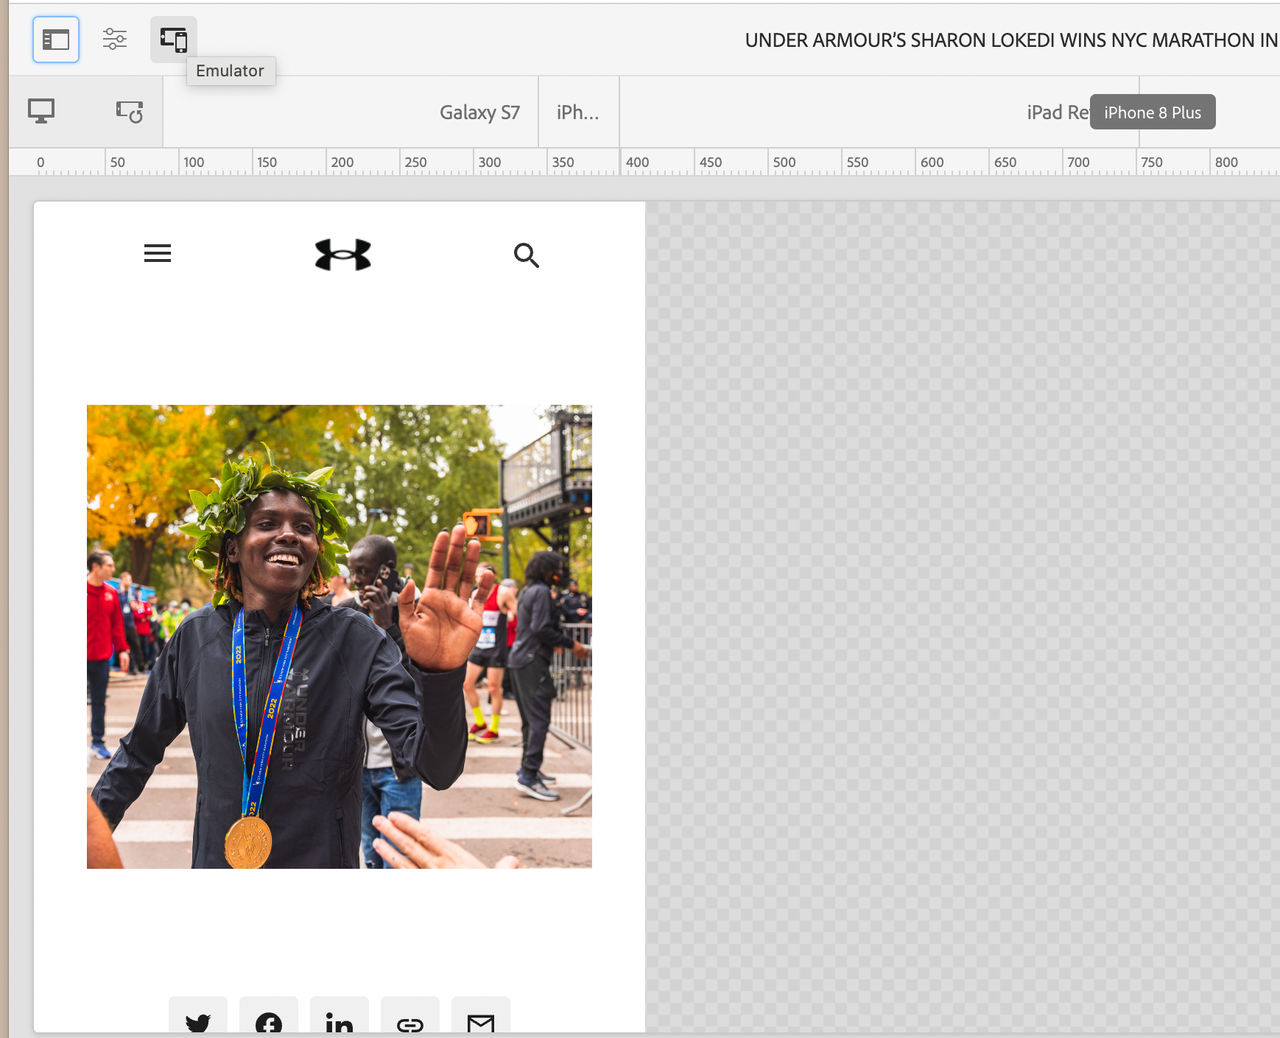
- Use top navigation Emulator and toggle to mobile mode to check formatting. You can edit sizing here for mobile and it should not affect desktop version. Any type edits will affect both versions.
- There is no need to save, any editing will be saved live as working.
Preview as Published and Mobile Review
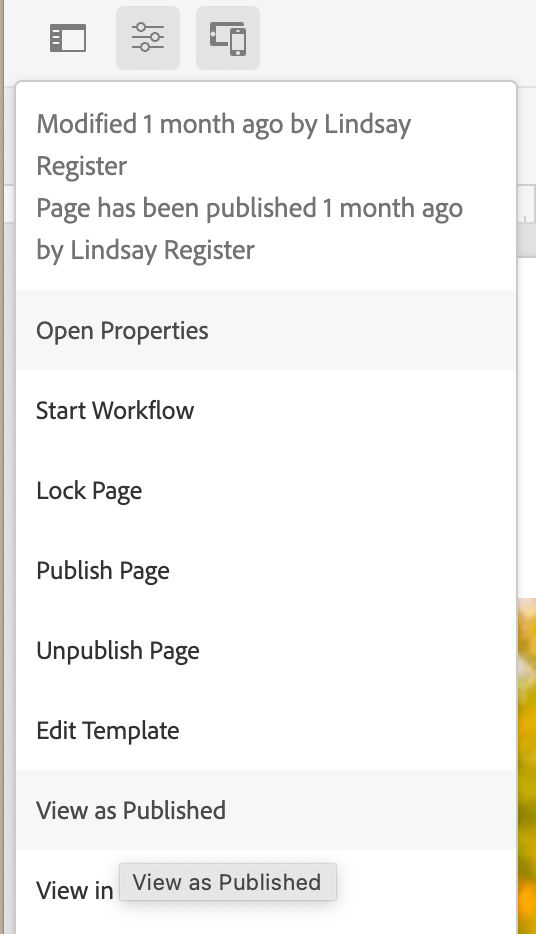
- Preview Story in published state: Click the middle icon in the top left corner for page information > Click view as published
- Mobile Edit & Review: Before publishing review mobile version of story by clicking the furthest right Emulator icon in the top left corner > Select different device options to preview on these device displays
- You can edit placement of components on the grid here, this will not affect desktop version, you can also edit mobile image here. Any edits to actual text will affect and show up in desktop version.
- Publishing for Hidden Review
- Publishing for Live Site
Edit Properties
- In top navigation click the middle icon for Page Information > Click Edit Properties
- Click Exclude from Site Search and Exclude from Search Engine under Index.
- Do not add tags until ready for live site publish.
- Add Subtitle if needed.
- Add a story description (this will show as the quick preview blurb for a story when it's fearured anywhere or in search).
- Click Images tab in top navigation > Add both a featured Image and Thumbnail Image > Add Alt text
- Featured image will show as portrait image in related content areas, if subject of image is in center on landscape image you can use otherwise use a portrait image.
- Thumbnail image will show in search and Articles page as landscape image.
- Alt Text is used for assistive devices for the visually impaired and google search purposes, it should be descriptive about image.

Rollout Page
- Enter Story Editing Mode: click on the Page Information icon (slide Icon, text will show on hover) select rollout page
- Leave "All" checked and click "Rollout"
- Either Rollout now or later based on publishing plan
- Note: If you make any change after initial Rollout you will need to Rollout again. Rollout does not publish it sends the story to all matching language pages to prepare for mass publication.

Publish
- There are three ways to publish pages.
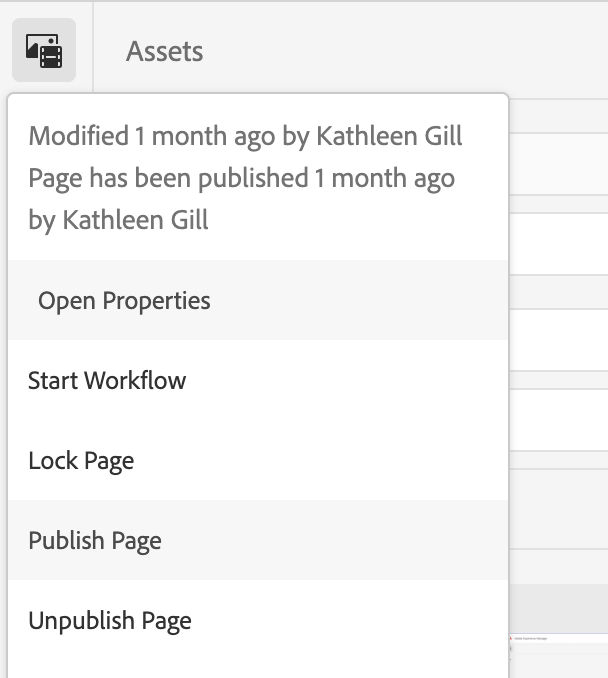
- In Story Editing Mode: click on the Page Information icon (slide Icon, text will show on hover) select publish page, uncheck default translation, and select publish now or later.
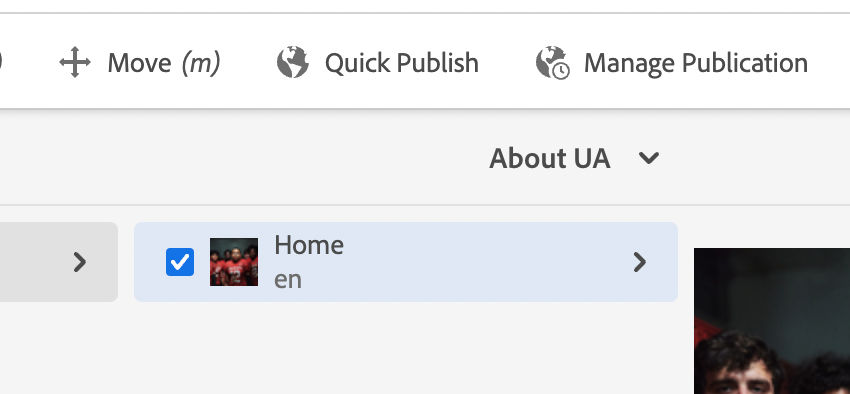
- Quick Publish: Navigate to story through sites navigation > check box next to story > Navigation will show at top select Quick Publish
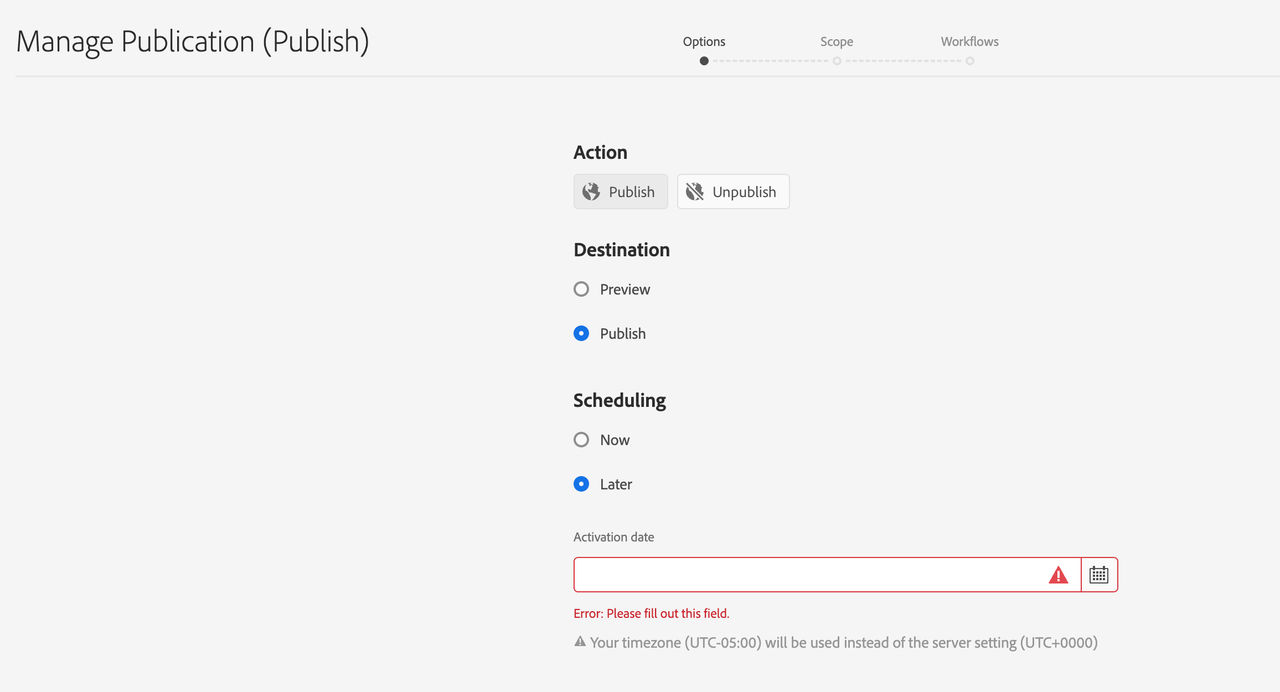
- Manage Publication: Navigate to story through sites navigation > check box next to story > Navigation will show at top > Select Quick Publish
Edit Properties
- In top navigation click the middle icon for Page Information > Click Edit Properties
- Uncheck any boxes that may have been used during review like Exclude from Site Search and Exclude from Search Engine
- Add related story tags> Make sure to use Newsroom media type tag to have story included on Articles page, Newsroom Front page and use media type filtration system on search functionality.
- Add Subtitle if needed.
- Add a story description (this will show as the quick preview blurb for a story when it's fearured anywhere or in search).
- Click Images tab in top navigation to ensure both a featured Image and Thumbnail Image have been added to story if they have not add these or return to create story steps for instructions
Rollout Page
- Enter Story Editing Mode: click on the Page Information icon (slide Icon, text will show on hover) select rollout page
- Leave "All" checked and click "Rollout"
- Either Rollout now or later based on publishing plan
- Note: If you make any change after initial Rollout you will need to Rollout again. Rollout does not publish it sends the story to all matching language pages to prepare for mass publication.
Publish
- There are three ways to publish pages.
- In Story Editing Mode: click on the Page Information icon (slide Icon, text will show on hover) select publish page, uncheck default translation, and select publish now or later.
- Quick Publish: Navigate to story through sites navigation > check box next to story > Navigation will show at top select Quick Publish
- Manage Publication: Navigate to story through sites navigation > check box next to story > Navigation will show at top > Select Quick Publish
There are two ways to unpublish pages:
- Manage Publication: Navigate to story through sites navigation > check box next to story > Navigation will show at top > Select Manage Publication >Select Unpublish and either unpublish now or set a future date and time to unpublish
- In Story Editing Mode: click on the Page Information icon in top left (slide Icon, text will show on hover) > Select unpublish page and follow prompt
The Main Stories Page is a series of manually updated Promo Components and an automated feed towards the bottom of the page.
To Update Promo Components
Go to edit Stories Page > Click on Promo Component and click wrench configure icon> Once in the edit module under Text tab update Eyebrow with story date, Story Title, Story Description, Story Link> Click on Image tab and Update Story Image.
Automated What's Just Dropped Feed
This feed will pull in News Stories based on filtered taxonomy tags. To have it pull in all stories filter it for just Newsroom Stories tag. To create more specified feeds you can use the tag system to filter by specific sports, athletes, products, innovations etc. The title should also be added to specifiy feed topics for the user.
There are four pages where Earnings information will need to be manually updated. Financials, Quarterly Results, Main Investors Page and Resources. Updating timing will depend on content being ready for publish.
Updating Webcast Link
A webcast link will be shared about two weeks prior to Earnings date from our IR partner, Notified.
- Update Financials Page with Webcast Link Edit financials Page > Edit Quarterly Results component on page > In current year dropdown create new text block component > Title component with quarter number and year (ex. Q3 2023) > Add hyperlink in text box for Webcast link
- Update Quarterly Results page with Webcast Link There are two options to update Quarterly Results: Edit Quarterly Results and repeat steps for updating dropdown used on financials page or copy text block component from financials page and paste it on Quarterly Results page.
Updating Press Release
The earnings press release will automaticlaly pull through the Press Release, Events and Presentation page feed at 7AM ET the morning of earnings. There are a few places that this will need to be manually updated though once you grab the press release link from the Press Release, Events and Presentation page.
- Updating Press Release on Financials: Edit financials Page > Edit Quarterly Results component on page > Add press release link to the body.
- Updating Press Release on Quarterly Results Page: Edit financials Page > Edit Quarterly Results component on page > Add press release link to the body.
- Updating Press Release on Main IR page: Edit main Investor Page > underneath top banner there is a promo that features earnins press relase> Update this promo with updated image, press relase title and press release link.
- Updating Press Release on Press Release & Events: Edit Investor Press Release, Events & Presentations Page > Edit Text Block under Latest Events section> Add newest Earnings quarter and year if needed> Update with latest Earnings Press Release.
- Updating Press Release on Events: Edit Events page> Edit module on page> Add newest Earnings quarter and year if needed> Update with latest Press Release.
Updating Transcript
The transcript will be sent via the IR team a couple hours to days post earnings. There are a few places that this will need to be manually updated, on the Financials page, Quarterly Results page and Resources page.
- Updating transcript on Financials Page: Edit financials Page > Edit Quarterly Results component on page > Add transcript link as button link.
- Updating Transcript on Quarterly Results: Edit Quarterly Results Page > Either update Quartetly Results component on page with transcript as button link or copy and paste updated component from Financials page.
- Updating Transcript on Press Release & Events: Edit Investor Press Release, Events & Presentations Page > Edit Text Block under Latest Events section> Add newest Earnings quarter and year if needed> Update with latest Trascript.
- Updating Transcript on Events: Edit Events page> Edit module on page> Add newest Earnings quarter and year if needed> Update with latest Transcript.
- Adding New Tags
- Editing Existing Tags
Navigate to Tools
- Open main AEM page > Navigate tpo left side vertical menu> Click on Tools (Hammer icon )
Navigate to Tagging
- Once in tools navigate to right icon menu > Click on Tagging icon > Navigate left side menu to "Under Armour" tags, all tags we use will be under this customized Under Armour taxonomy system.
- Once in this custom taxonomy system you will see larger categories for each possible tag, for example "People" or "Initiative." These categories range tags as follows: People would be things like specific or general Athlete types or CEO, Initiative would be larger projects such as Women's History Month or Sportstyle, Product Type would cover large categories such as Season or Footwear, Region & Location will cover offices and regions, Innovation and Technology will cover things like HOVR or Flow and Category will cover larger categories like Football, Curry Brand or Earnings.
Understanding Taxonomy Organization
Once you click on tagging you should begin to see subcategories. Each category is designed to cover all possible categories of UA's information organization for the tags we use more specifically to fit under. These categories fits these examples as follows:
- People would be things like specific or general Athlete types, CEO, Tier 1 Athlete names.
- Initiative would be larger projects such as Women's History Month, Protect This House or Sportstyle.
- Product Type would cover large general categories such as Season, Apparel or Footwear
- Region & Location will cover offices and regions
- Innovation and Technology will cover things like HOVR or Flow
- Category will cover larger concepts like Football, Curry Brand, Womens or Earnings
- Media Type will cover media file types such as Video, Image and Newsroom Story
Adding New Tag to Larger Categories
Once you decide where your new Tag will fit begin creating a new tag.
Select Category by clicking on category > Click "Create" in top right > Click Create Tag > Write tag in the title section > Click "Submit" button in top right
Navigate to Tools
- Open main AEM page > Navigate tpo left side vertical menu> Click on Tools (Hammer icon )
Navigate to Tagging
- Once in tools navigate to right icon menu > Click on Tagging icon > Navigate left side menu to "Under Armour" tags, all tags we use will be under this customized Under Armour taxonomy system.
- Once here Navigate through categories to existing Tag you want to edit.
Edit Tag
Select tag you want to edit > Click edit in top left> Edit Title > Click "Submit" button in top right
Moving Existing Tags
Navigate to and select the tag you want to move > Click move in top left menu> Click on the binoculars icon next to "Move to" option > Navigate to new location/ category > Click "Submit" button in top right
